Borg Kit Parts, Materials and Props
I was tasked with building an entirely new Borg Interior Kit, but constructed over all of the old Borg Kit pieces, maintaining names and pivot points so that all of our old Borg maps would be automatically updated with the new kit pieces. There were several hundred existing pieces comprising a Room Kit, as Hallway Kit, a Platform Kit, as well as several other ancillary elements, the vast majority of which were updated.
This gallery shows how the kit parts were constructed to enable variation, as well as some of the specific props made to support the kit and the mission content they were initially used for.
The original kit we were replacing was fine in concept, but was 13+ years old, having been touched by at least 6 different environment artists in that time. The naming conventions, pivot points, and modeling styles were all over the place. But the core ideas were fine. The new kit was constructed within the bounds established by the old kit. It was built to fit the spirit of the old pieces, while bringing the level up to a more modern standard.
One of the biggest hurdles with this update was trying to maintain all of those names and pivot points so that the new pieces would auto-propagate to our older Borg content without needing an artist or designer to go in and fix things up again. Those inconsistencies are painful to put in intentionally, but it had to be done, and in the end the kit did what it was supposed to with minimal cleanup. Our old maps are now constructed out of much newer pieces.
Some of the props got the same treatment, notably the regeneration alcoves and some of the consoles.
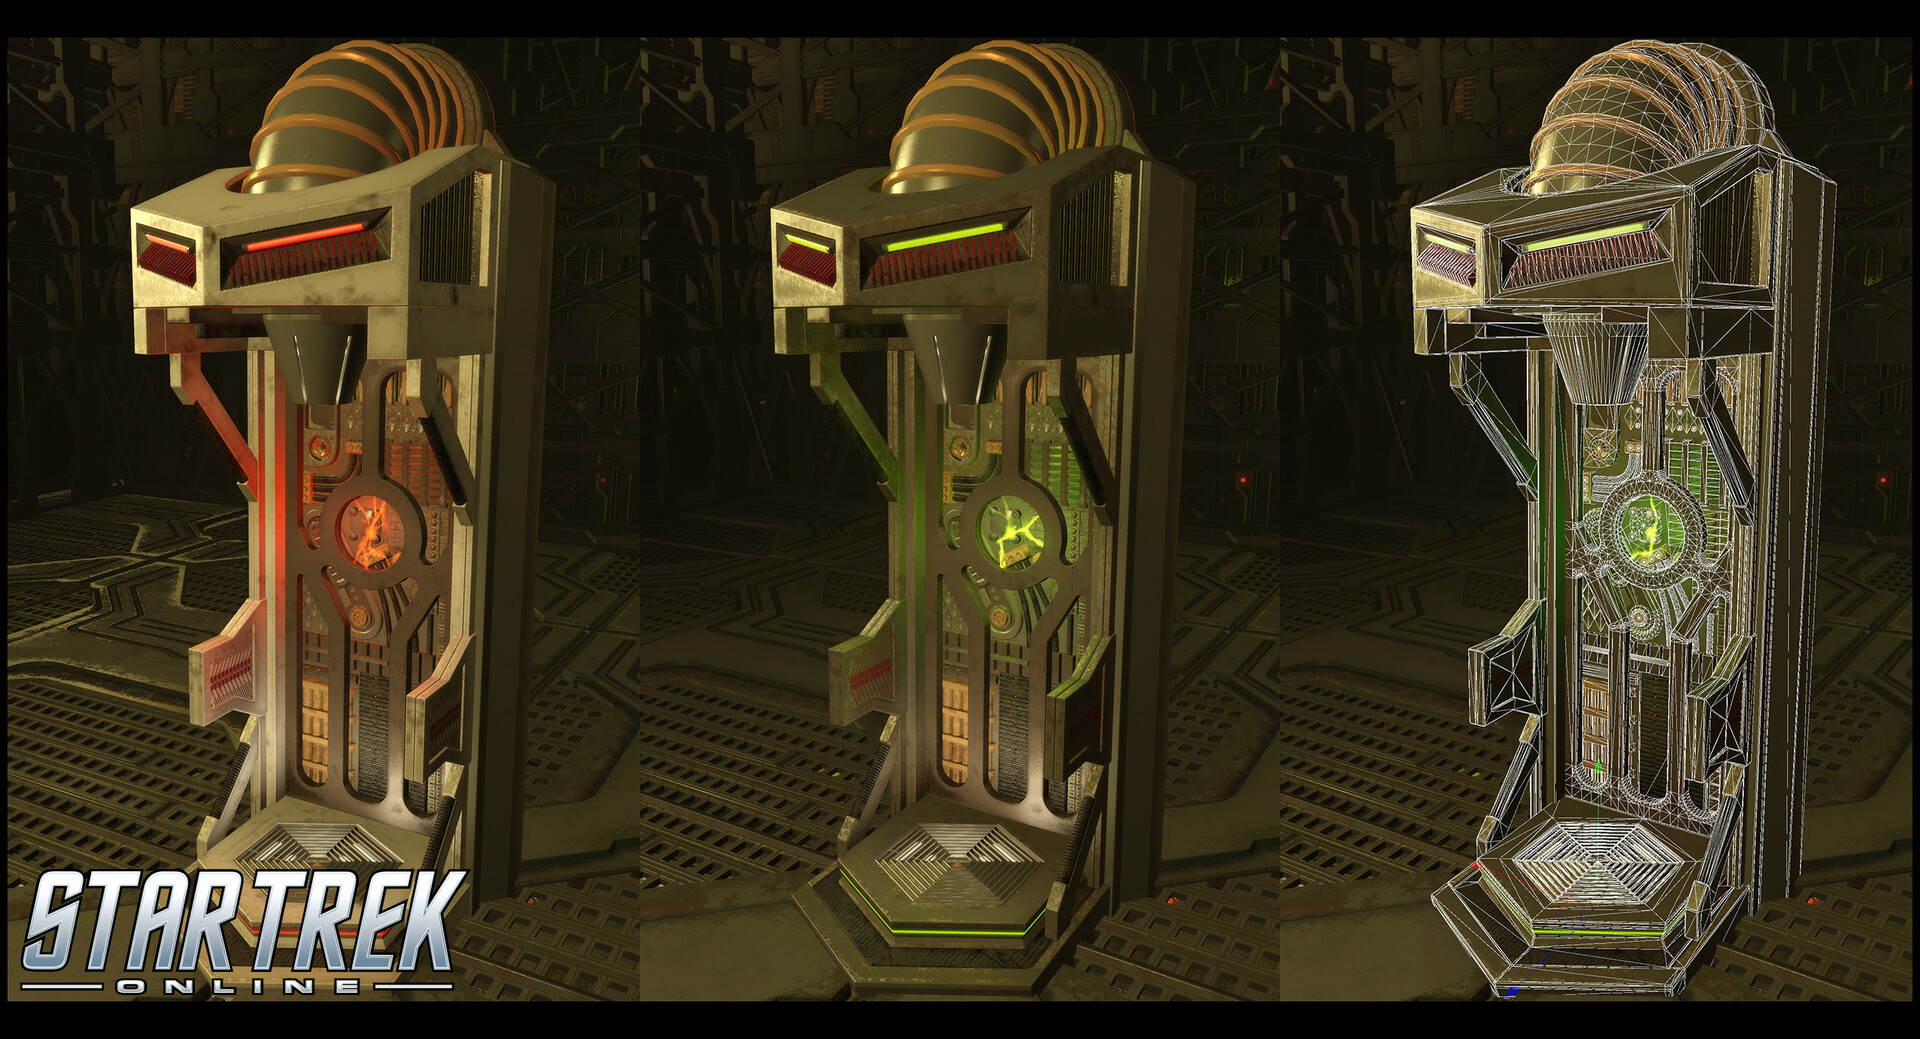
The Borg regeneration alcove is a staple on screen. We needed something that was instantly recognizable but also felt apropriate to our updated styles. I designed and built this alcove to reference a number of earlier canon alcoves.

Borg control consoles. The two on the left are based on existing old Borg Kit consoles.
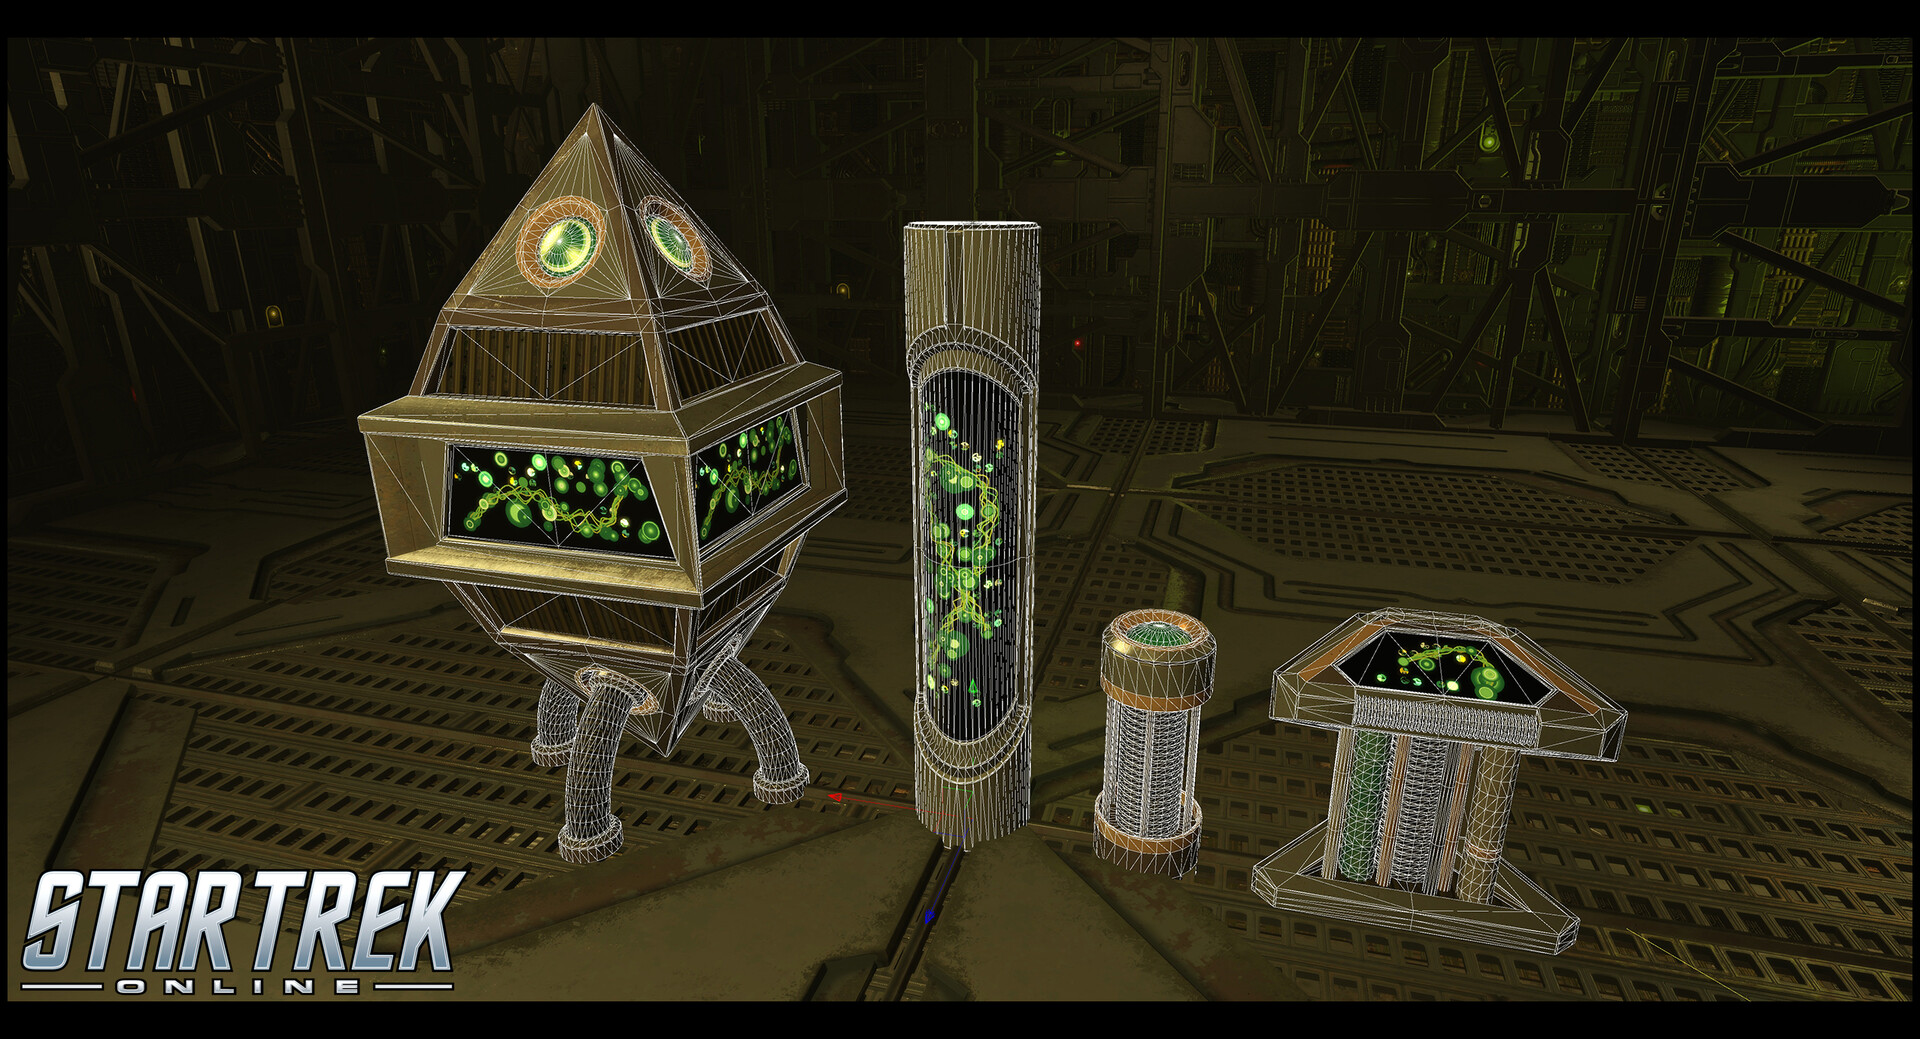
Wireframes of the consoles

The Unlocked Borg door is illuminated around the edge of the frame, and with two green lights along its center line to help draw players.

The Locked Borg Door has the frame go dark, and replaces the green lights with 4 red lights in the corners. The changes to the positions and number of lights help colorblind people identify the different states.

Door Wireframes
The Borg we see on screen don't really have doors, but we need them for gameplay. We wanted a door that didn't just part in the middle like most in the game. I tried a few things and then ended up with this multisegmented door.

The new Borg Walls are made in a couple of layers. There are two models combined into each part. Each model is a configuration of frames and struts. The rear wall has a tiling greeble plane behind it. We run hoses and pipes in the gap between.

Wireframes of the wall parts.

Each Kit piece is made up of two sub-parts, and there are a few variants of each model, which are randomized independently, leading to a great variety of strut layouts.
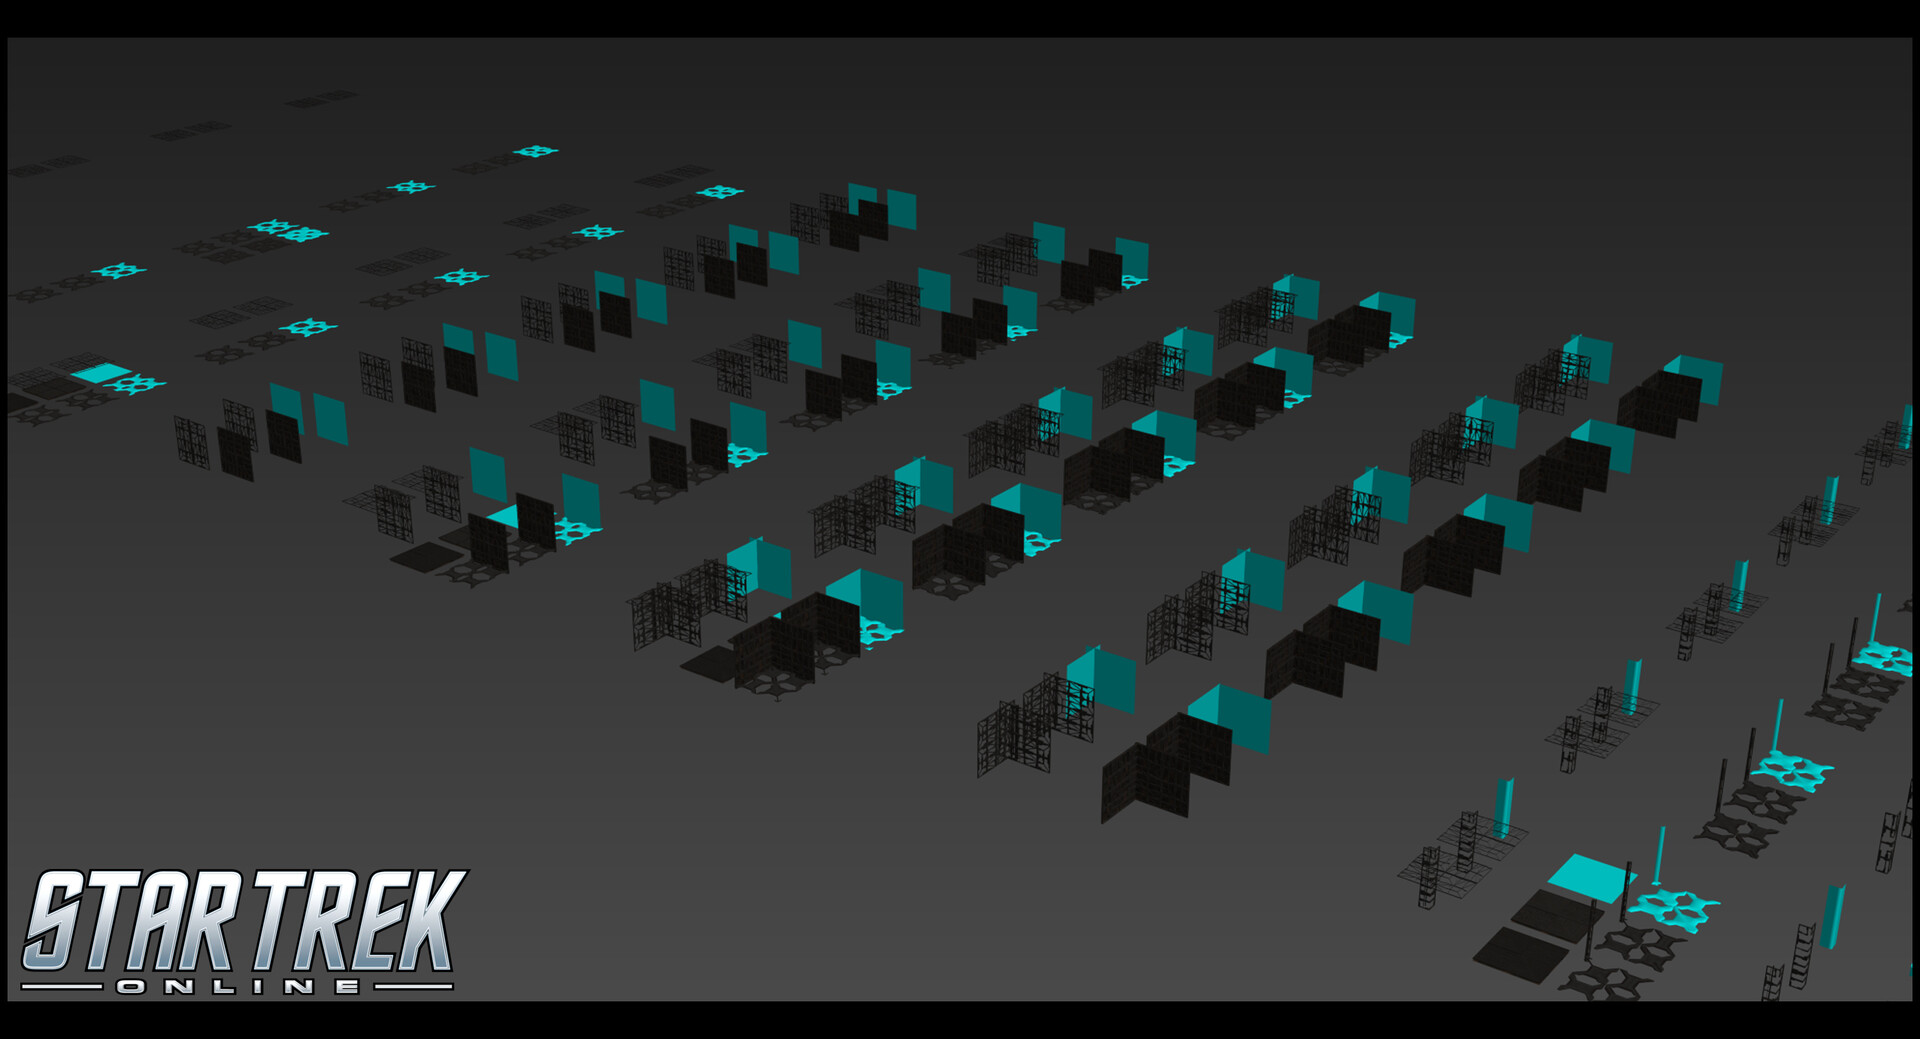
This is a screengrab of one of 5 kit part max files. This shows some of the room parts created. In all I'm sure I made north of 1000 pieces. All of which had to be grouped and named properly to update all the old Borg maps.

A Substance Designer generator I made to create roundels for the Borg console screens.

One of several Substance Designer files I made to make it easy to generate variations of the Borg console screens. Everything is set up to change but stay consistent by changing the random seed.

A shot from Substance Painter showing the primary wall frame bake. All of the wall frames use this same material, and are just symmetried and flipped in ways to create a lot of variation without a lot of extra draw calls.
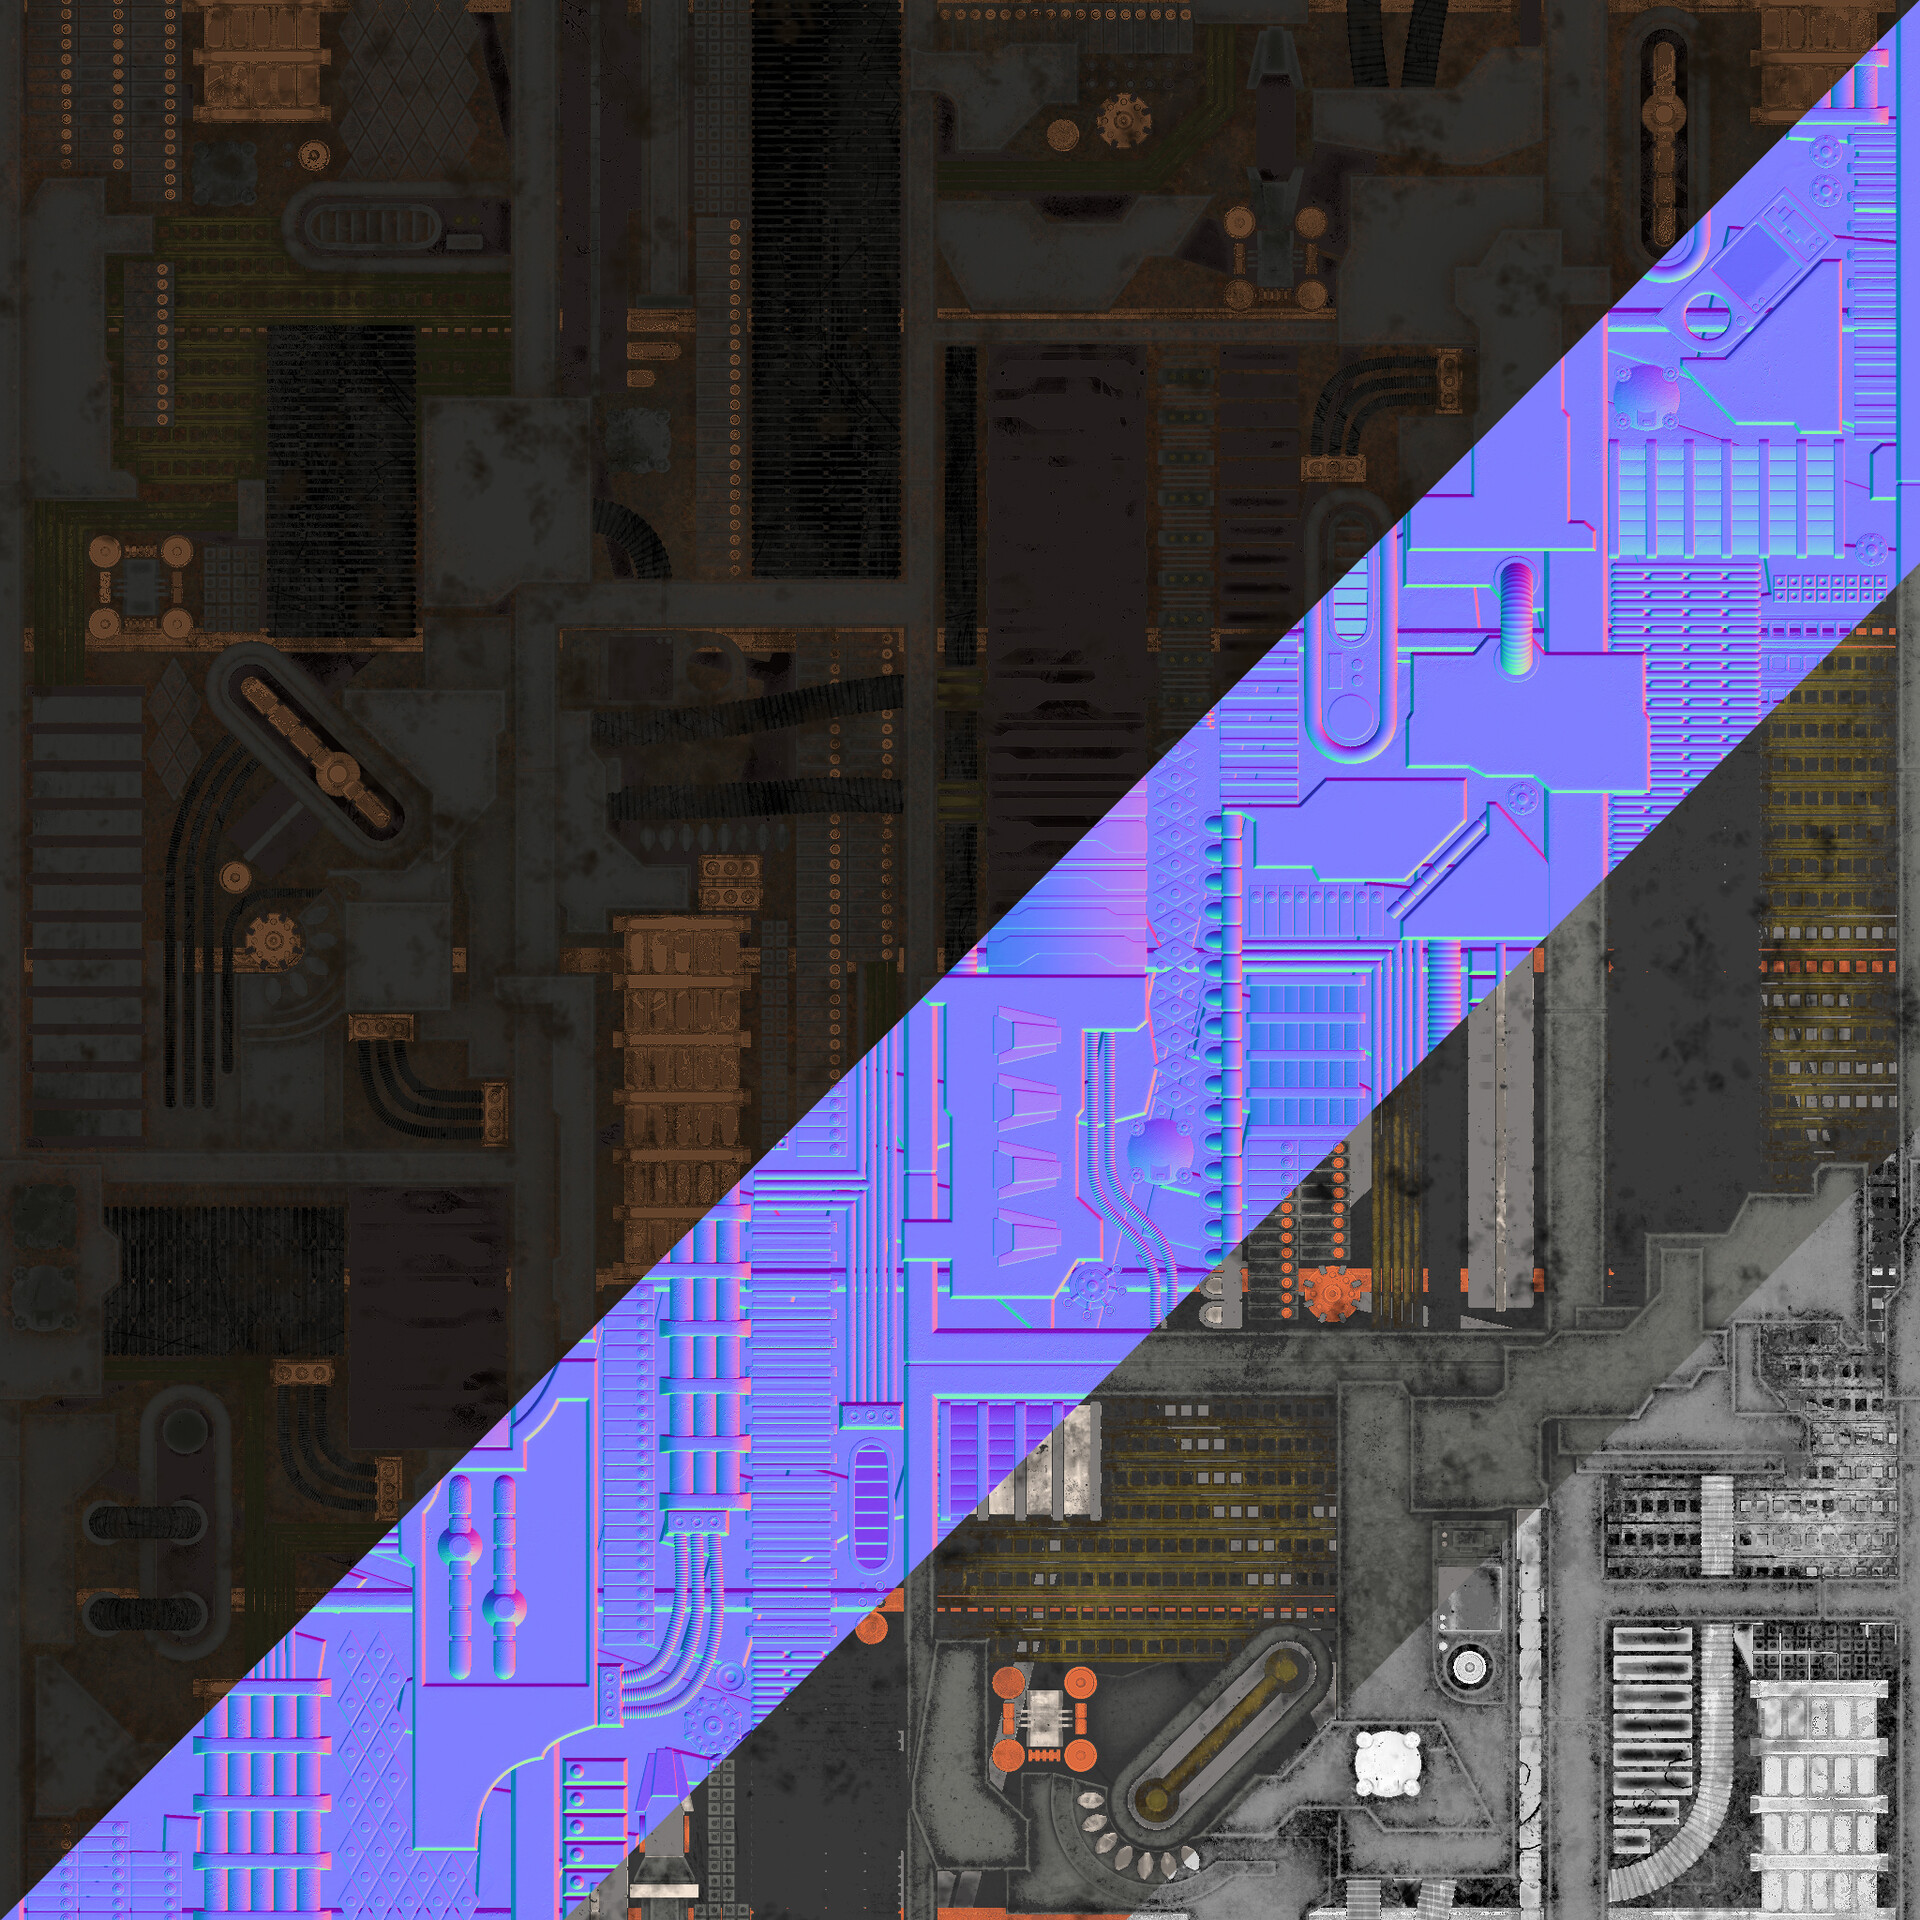
The primary tiling Borg greeble material. It was used as a backing behind all the walls, and on a lot of the props. Baked from high poly meshes I made based on canon Borg greebles.
Diffuse>Normal>Specular>Reflection

This is the textures on the floor plates that are used all over.
Diffuse>Normal>Spec>Reflect>Mask
The mask works with a heightmap blend to reveal tiling auxiliary textures for scratches and tinted areas.